Australian finger limes, also known as citrus caviar, are native Australian citrus fruits that are finger-shaped and contain tiny, juice-filled pearls that burst in your mouth. Oftentimes, the pearls are referred to as vesicles. These finger limes are prized by chefs for their unique texture and tart, lime-like flavor. They are used in dishes like seafood, salads, cocktails, and desserts.
Our search for finger limes began in 2020. My sister-in-law knew we were in the market for fruit trees to plant in our backyard and suggested finger limes. We visited the local nursery hoping to plant a finger lime tree of our own even though we’d never had it before. The associate informed us that finger lime trees were sold out everywhere and it’d be another couple of years before we started seeing them in stock again.
Fast forward to Spring 2025 and lo and behold, we found three finger lime trees sitting at our Home Depot! We quickly snagged a tree for about $100 (I know, super expensive but they’re called citrus caviar for a reason) and have been enjoying these limes all summer long! We’ve topped off clams, ice cream, and cheesecake with these pearls and they definitely bring taste to a whole other level!
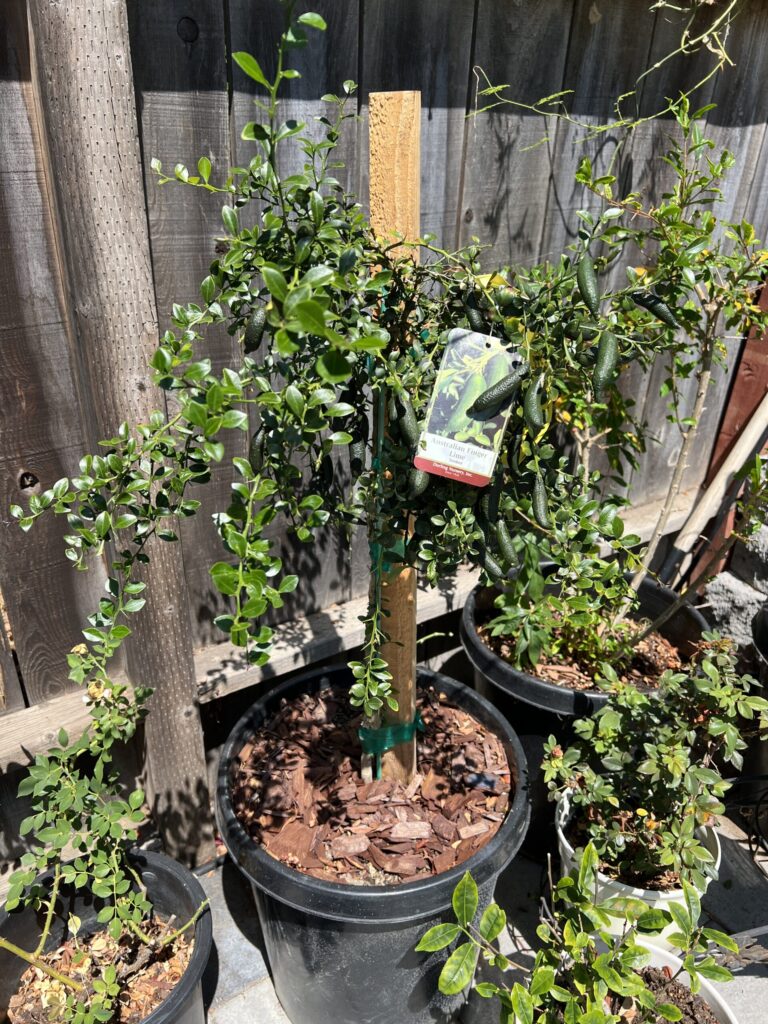
Our finger lime tree happy and healthy, soaking up the sun in Zone 10b.
I think I got super lucky because our finger limes produce a ton of seeds. Each fruit yields about 10+ seeds. I’ve been diligently harvesting the seeds since you can’t find the seeds in stores anywhere and the trees are hard to find! Harvesting actually takes a long time since it’s tedious work having to separate the seeds from the vesicles. If you’re interested in growing finger limes from seeds, check out the listing on my Etsy shop: everchicstudio21.
As an avid gardener myself, I decided to grow these Austrailian finger lime seeds! My setup included:
- A heat map for seed starting that I bought off of Amazon
- Indoor grow lights, also from Amazon
- Greenhouse starter kit from Home Depot
It takes time and trial and error but I now finally have three finger lime seedlings coming in!
My first method included placing the seeds in a moist paper towel, sprinkled with cinnamon powder to prevent molding. I placed this into a glass tupperware. However, even after 2 weeks, germination was not successful.
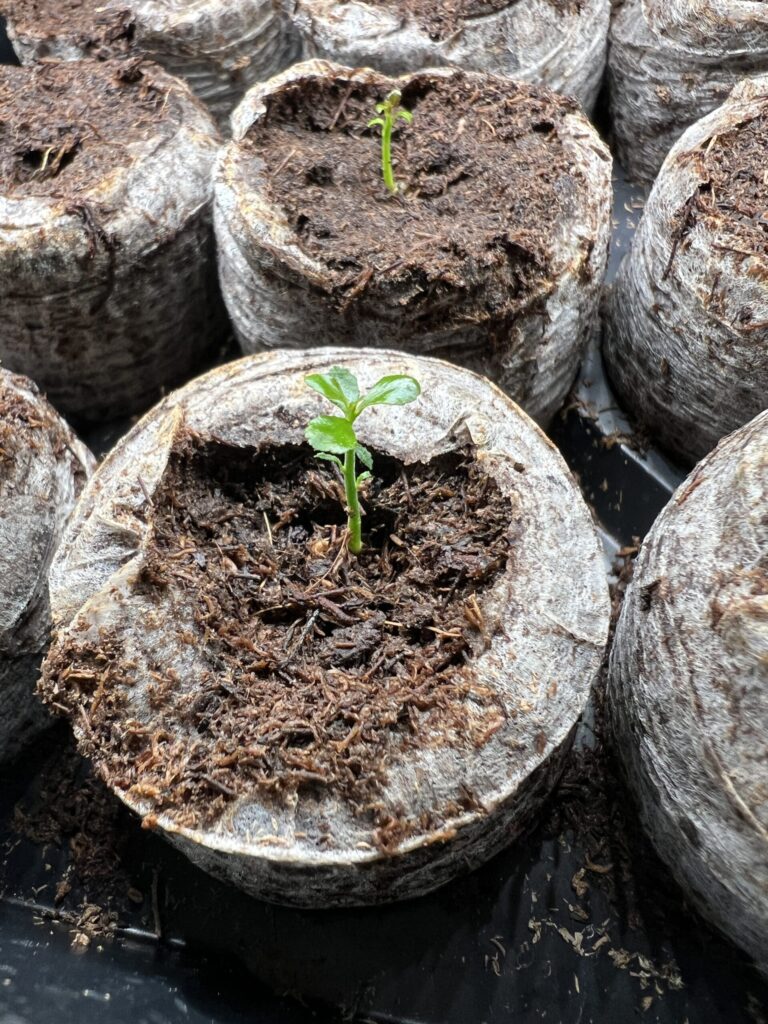
Then a post on Reddit inspired me to invest in indoor grow lights. I planted the seeds in the peat pellets that came with the greenhouse starter kit and placed them under the indoor grow lights. I made sure to keep the pellets moist and covered the tray with the humidity dome. I’d grown the finger lime seeds along with Carolina reaper seeds, calamansi seeds, and Mexican key lime seeds. Once the first signs of sprouts came in (my Carolina reaper seeds sprouted first), I had to remove the humidity dome.
I was afraid with the pellets weren’t warm enough, so next I invested in a heat map. Honestly, I think this was a big game changer! The mats are kept on 24/7 these days since the weather has gotten colder. I water the pellets daily since they dry out pretty quickly from the heat maps.
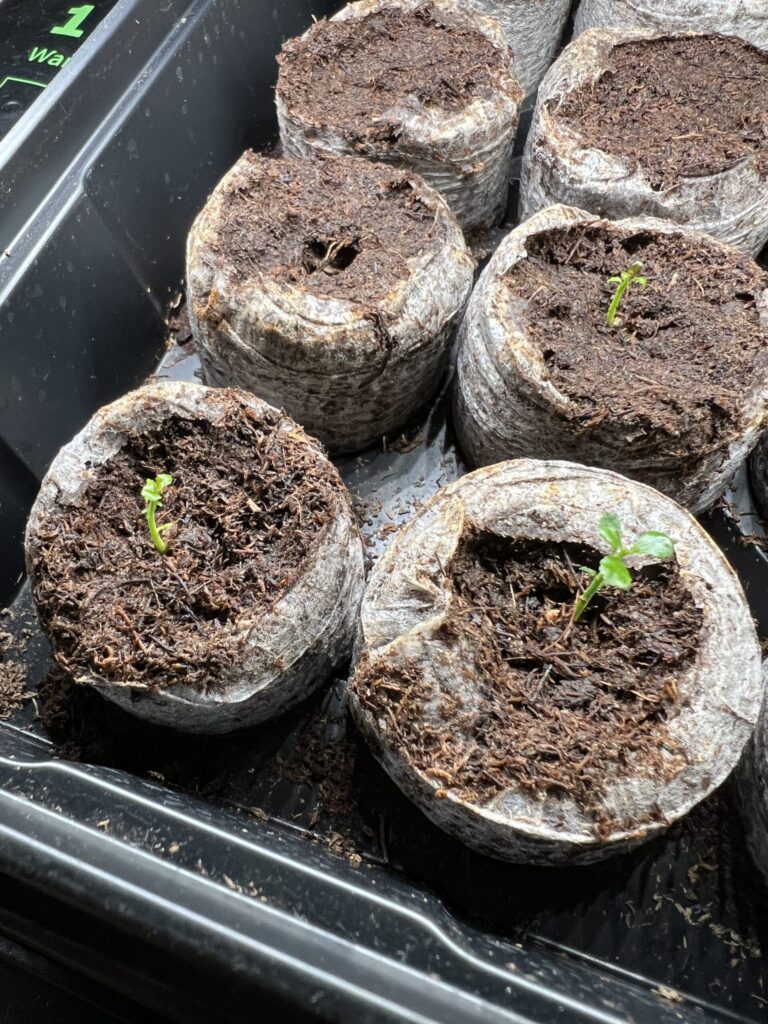
I think indoor grow lights, peat pellets, and the heat map did the trick! If you look at my pictures below, I have 3 finger lime seedlings coming in out of the 8 that I planted. My fingers are still crossed for the other 5 but once these are healthy enough, I’ll transplant them into their own little containers and continue to care for them under the grow lights and on the heat maps.
Do you have finger lime stories to share? Drop a comment below!
♥️,
The Babbling Bee